


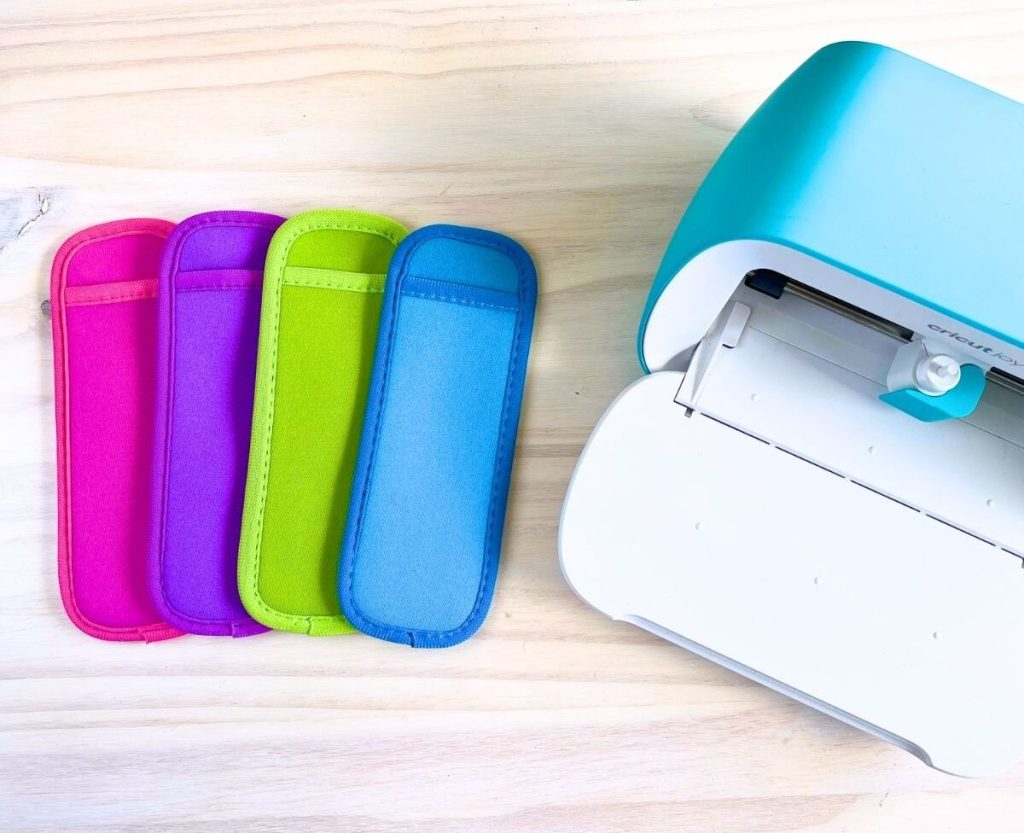
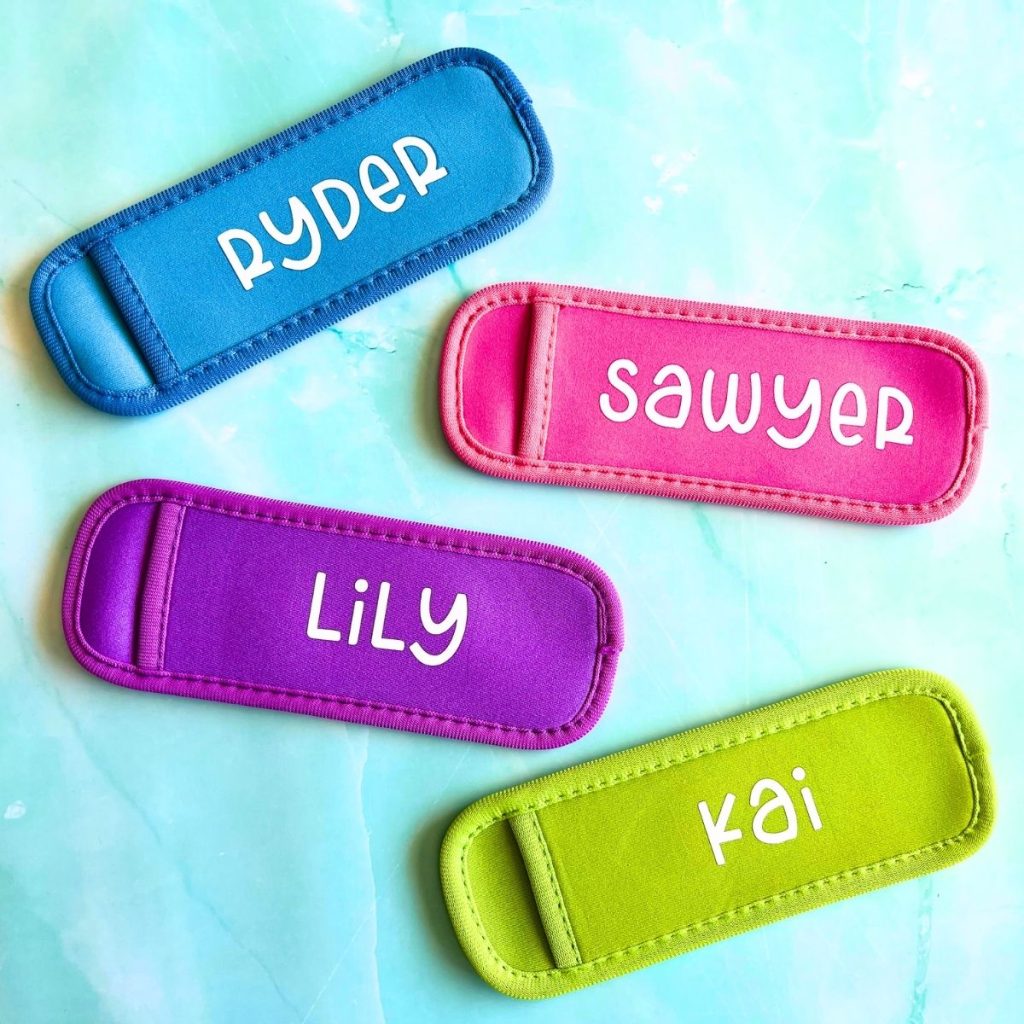
If you’re looking for a quick gift, a party favor or something that sells like hotcakes… personalized popsicle holders are it!
Everyone loves a personalized gift. It feels like someone put time and effort into that gift. And kids love things made just for them. Not to mention how much parents appreciate each kid having their own with no need to fight over anything!
The Cricut has the potential to make you money. Of course there is work involved, but this is the fun kind of work! This project can be done on any of the Cricut machines, including the Cricut Joy.
If you’re looking for other Cricut vinyl crafts to sell, check out Vinyl Decals.
So let’s make some personalized popsicle holders!
SUPPLIES
DIRECTIONS
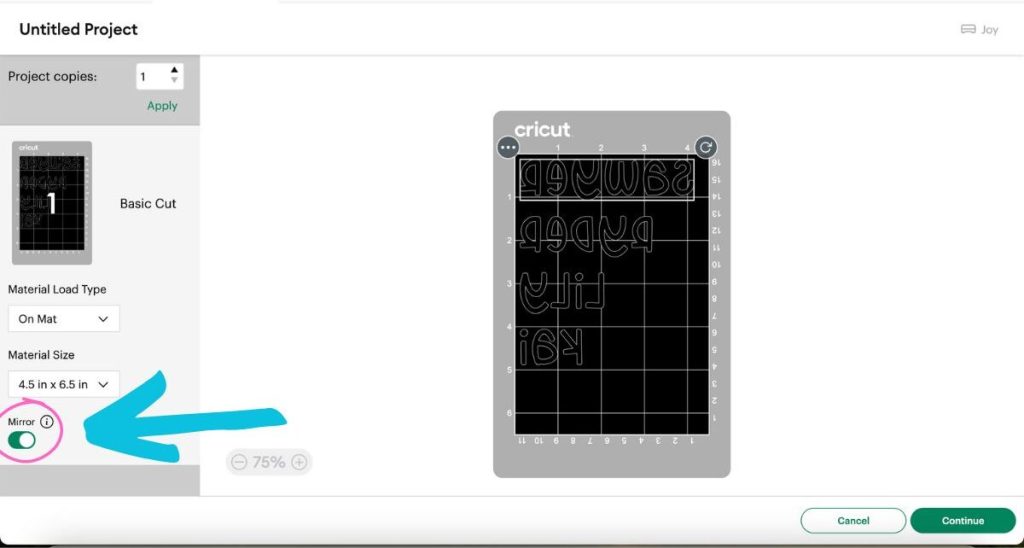
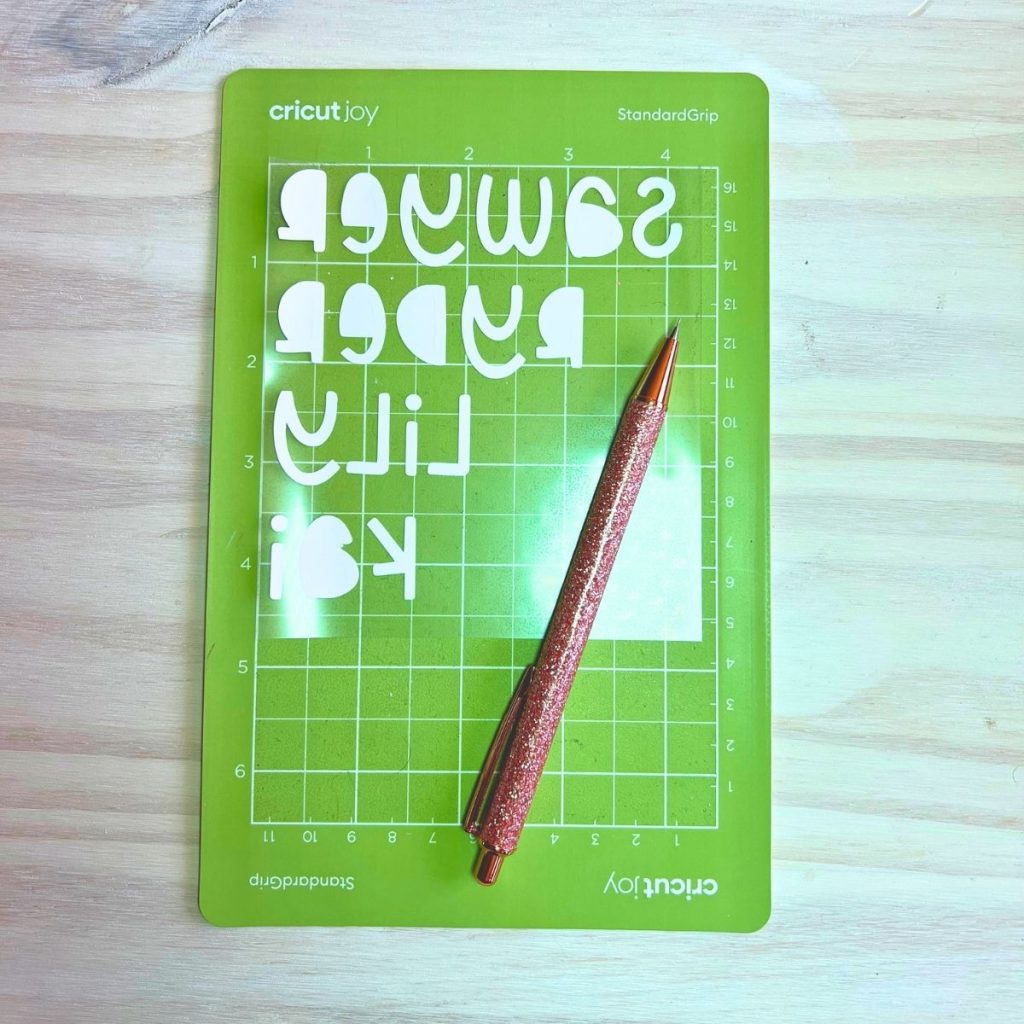
1. Head over to Design Space and write out your text. For these holders, I wanted to stay within 1 1/2 in x 4in, and the font I’m using here is a Cricut font called DTC Spring Break.

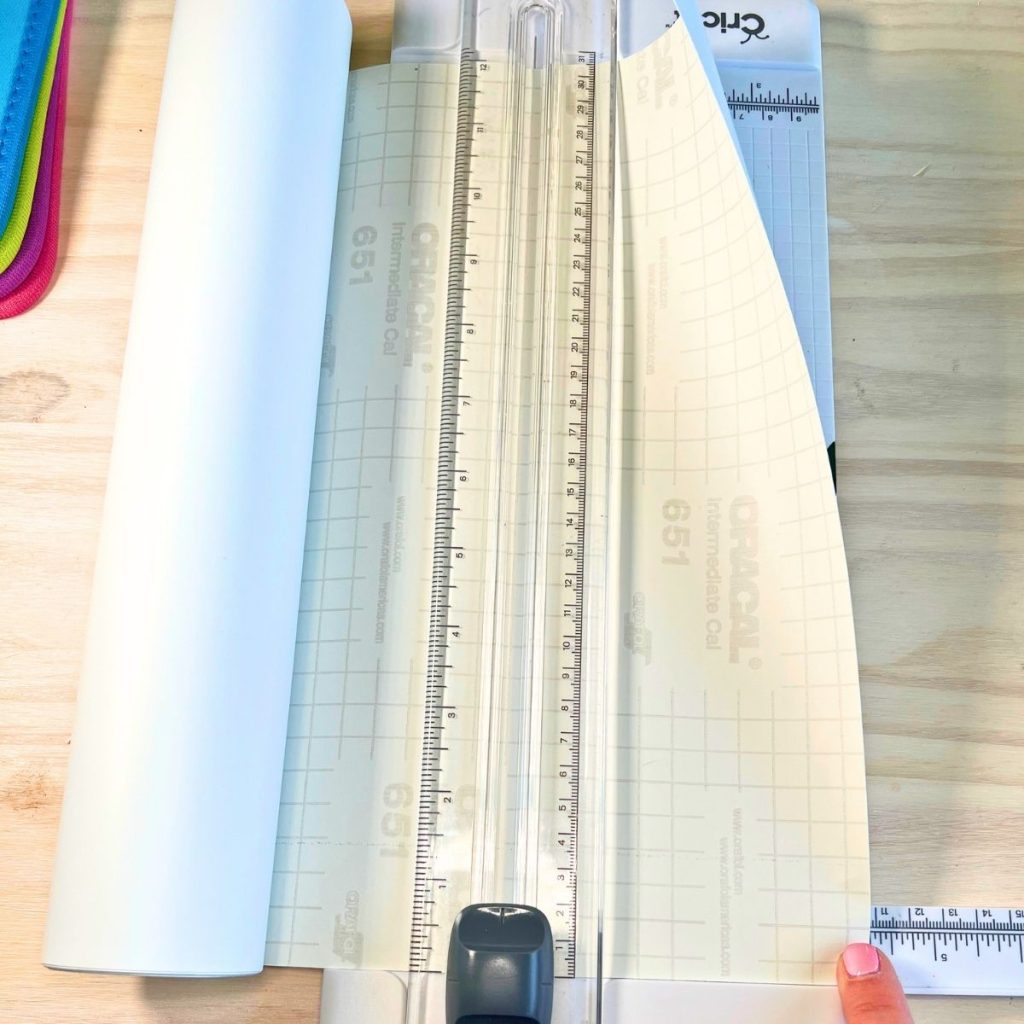
2. Grab your HTV, which stands for heat transfer vinyl, and is the only vinyl you should be using for iron-on projects. Then cut your vinyl to size.
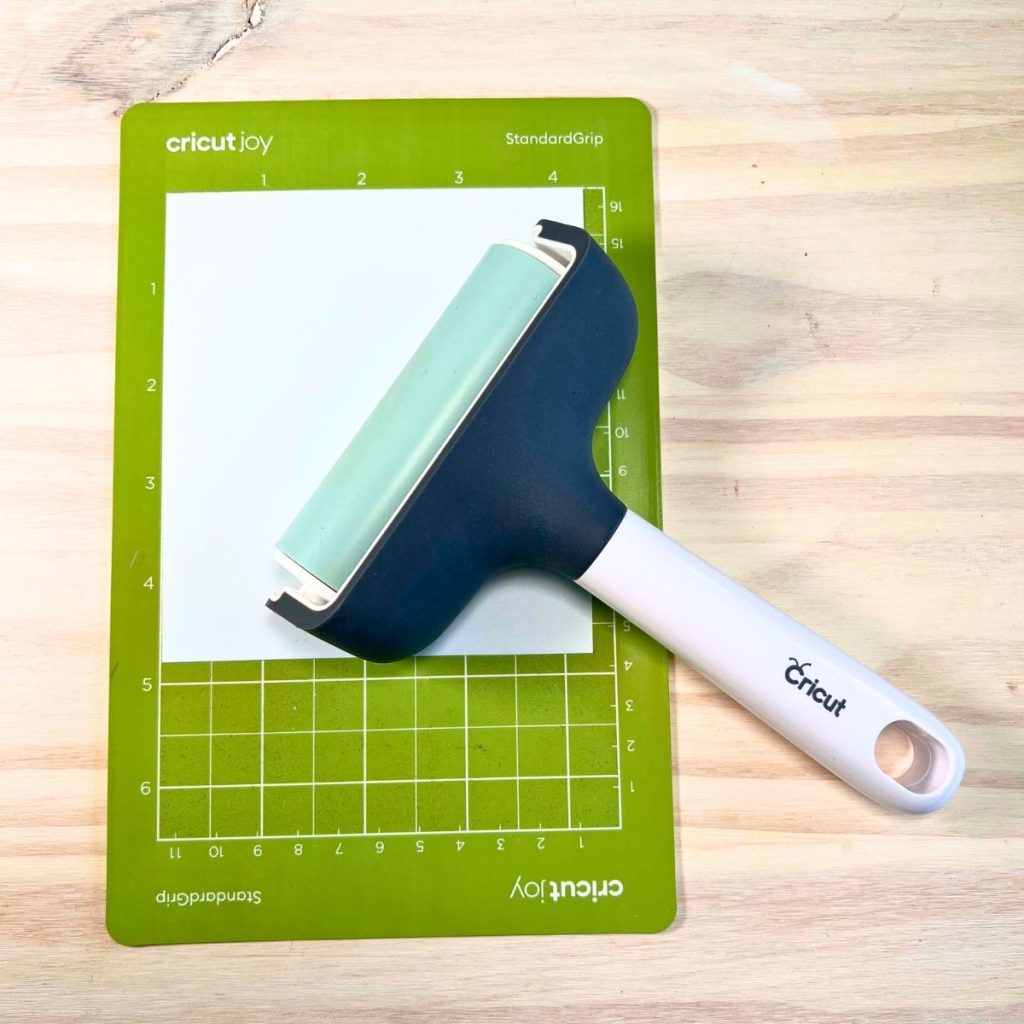
3. Place vinyl on your mat GLOSS SIDE DOWN and brayer it on the mat.
3. On Design space, click on MAKE. Make sure you MIRROR your text! Hit continue, select everyday iron-on and load your mat into the machine.
4. Once your text cut is complete, unload the mat and weed your vinyl.
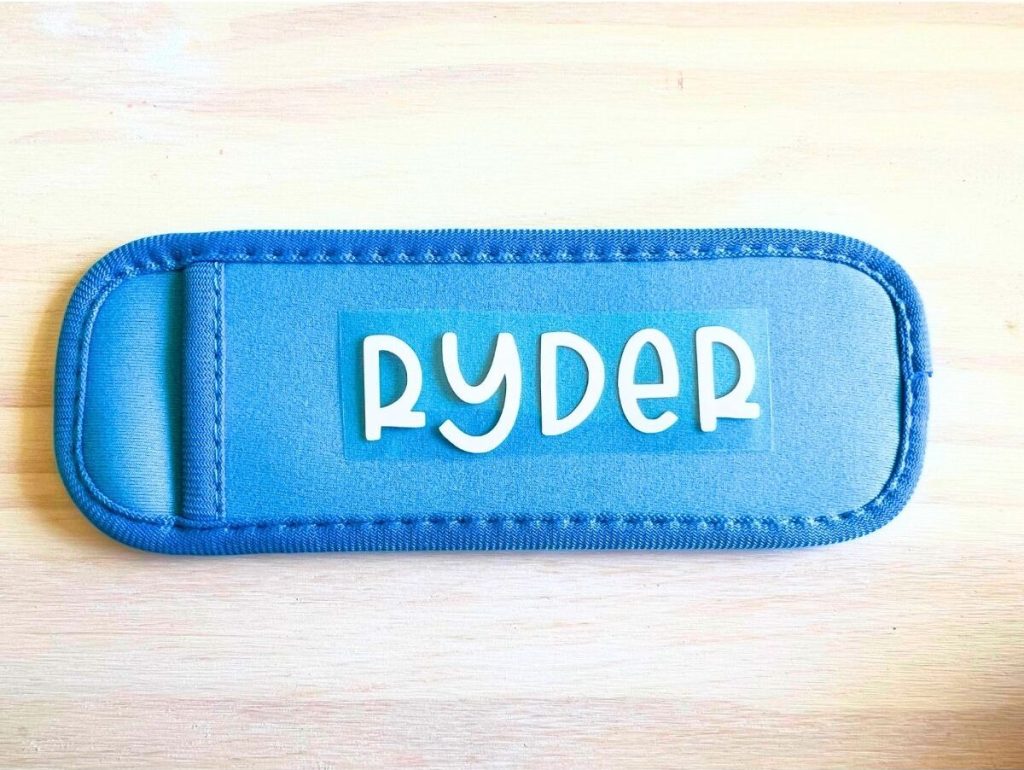
5. Cut out the names so each name is its own piece. Place onto the popsicle holders and make sure your name is evenly spaced on all sides.
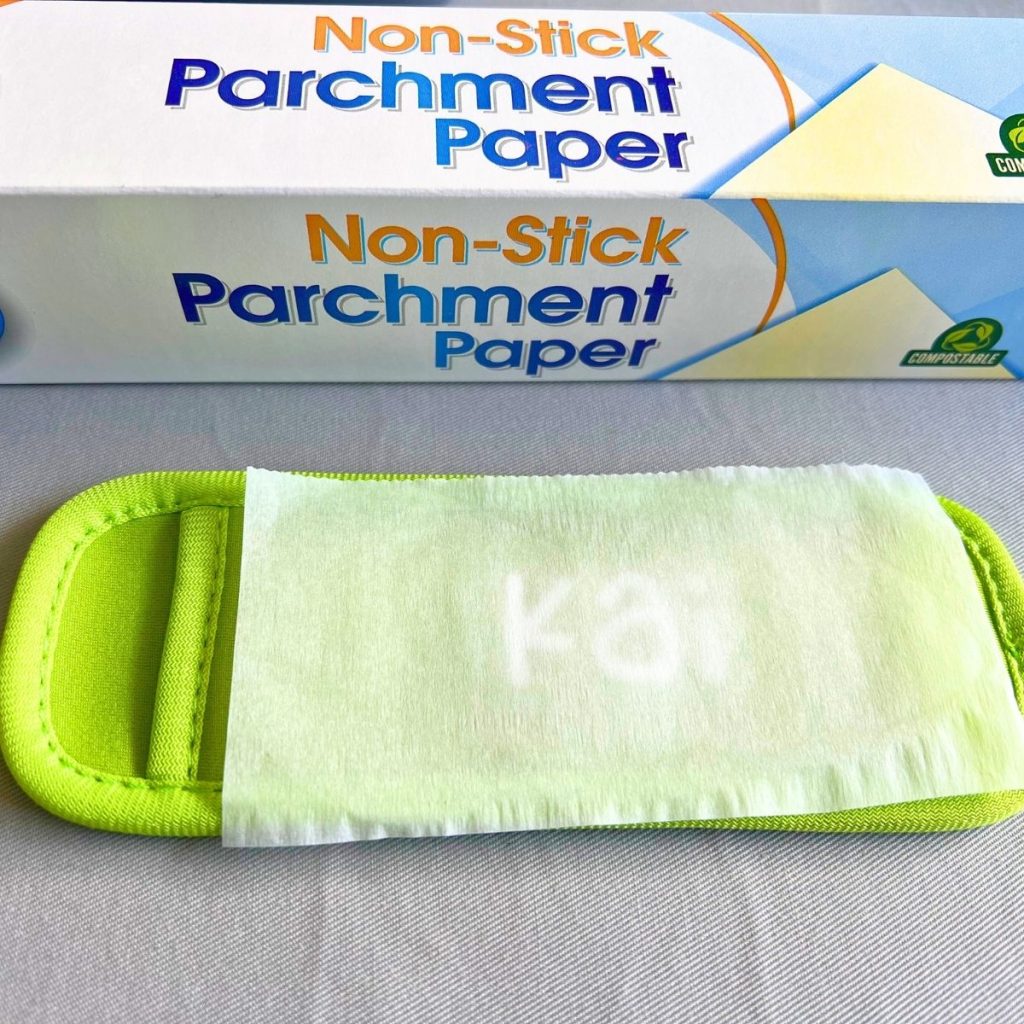
6. You will need a barrier so you do not burn the neoprene material. I have always and will continue to only use store bought parchment paper. Just rip a piece off and place it over the vinyl. This piece can be reused sooo many times.
7. Preheat your mini press or iron. I’m using the mini press and touching the temp button twice. Hold the press down steady on the parchment paper for 30 seconds. Lift and move to another area if it wasn’t fully covered.
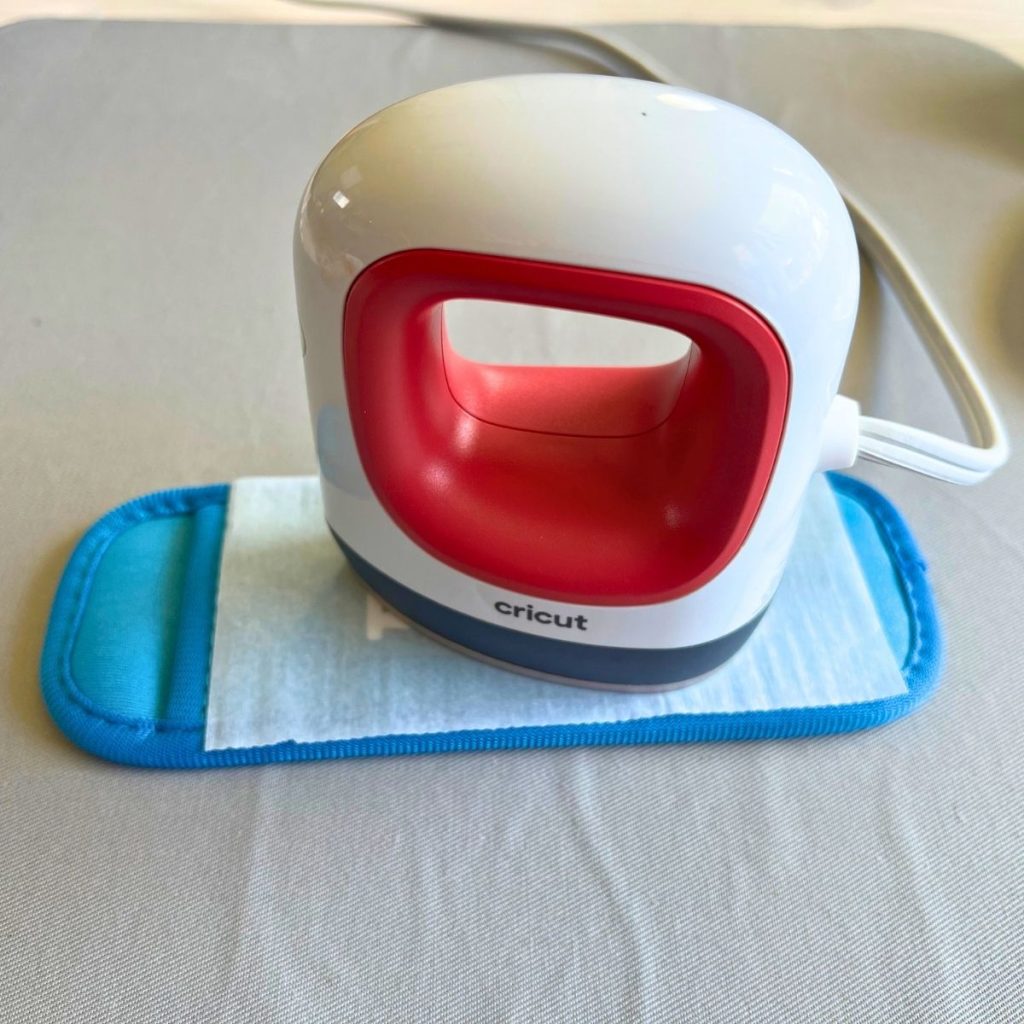
8. Wait until the vinyl is cool to the touch and pull off the top layer. Put the parchment paper back over the vinyl and press again for 10 seconds.
9. Your personalized popsicle holders are ready to go!
TOOLS USED
Once you find something that works, you hold on tight!
Cricut Joy: This is a much smaller version of the Cricut machines. This little guy can usually be found around $100.
Cricut Mini Press: The mini press is a small iron, but created for vinyl. It distributes heat evenly to keep your designs intact.
HTV Heat Transfer Vinyl: I love the brand HTVRont. It’s available Amazon and can usually be delivered next day.
Weeding Pen: Besides the fact that it is sparkly and beautiful… this weeding pen is awesome! It retracts like a click pen to hide the pricker point, and is super sharp, making weeding super easy.
Popsicle Holders: These are so cute! They come in a variety pack with 8 colors. When I purchased these, they came to about 50 cents each, making these an easy way to make some extra money!
Let me know if you make these Personalized Popsicle Holders and share a picture on Instagram or Facebook or leave a comment below! Enjoy and thank you for reading!


Leave a Reply
Your email address will not be published. Required fields are marked *