


Do you celebrate the luck of the Irish? Wear green to protect yourself from pinches? Try to catch Leprechauns? We do!
We’re near Chicago where the river is dyed green and the parade is amazing! We know how to celebrate St. Patricks Day here, so I’m sharing the wealth of crafting ideas!
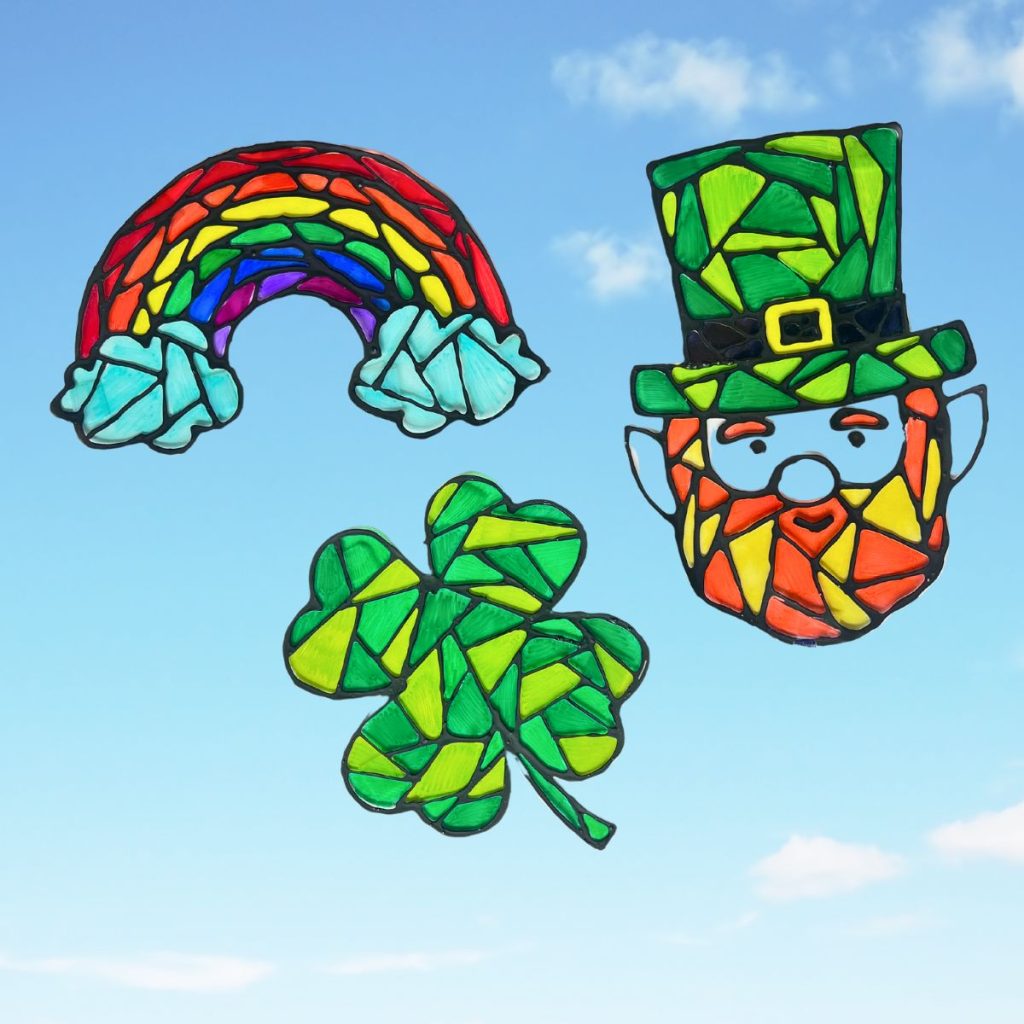
This stained glass art really is beautiful when finished and hung in the sun. And it was really fun to make. So let the shenanigans begin!
SUPPLIES
VINYL COVERING: I used a clear sheet protector the first time trying this craft and it was just way too flimsy for me. You’re welcome to try, or try to cut up a clear folder, a laminated empty sleeve, or a heavy duty shower curtain liner. I finally found this vinyl covering and was so pleased with the results.
DIRECTIONS
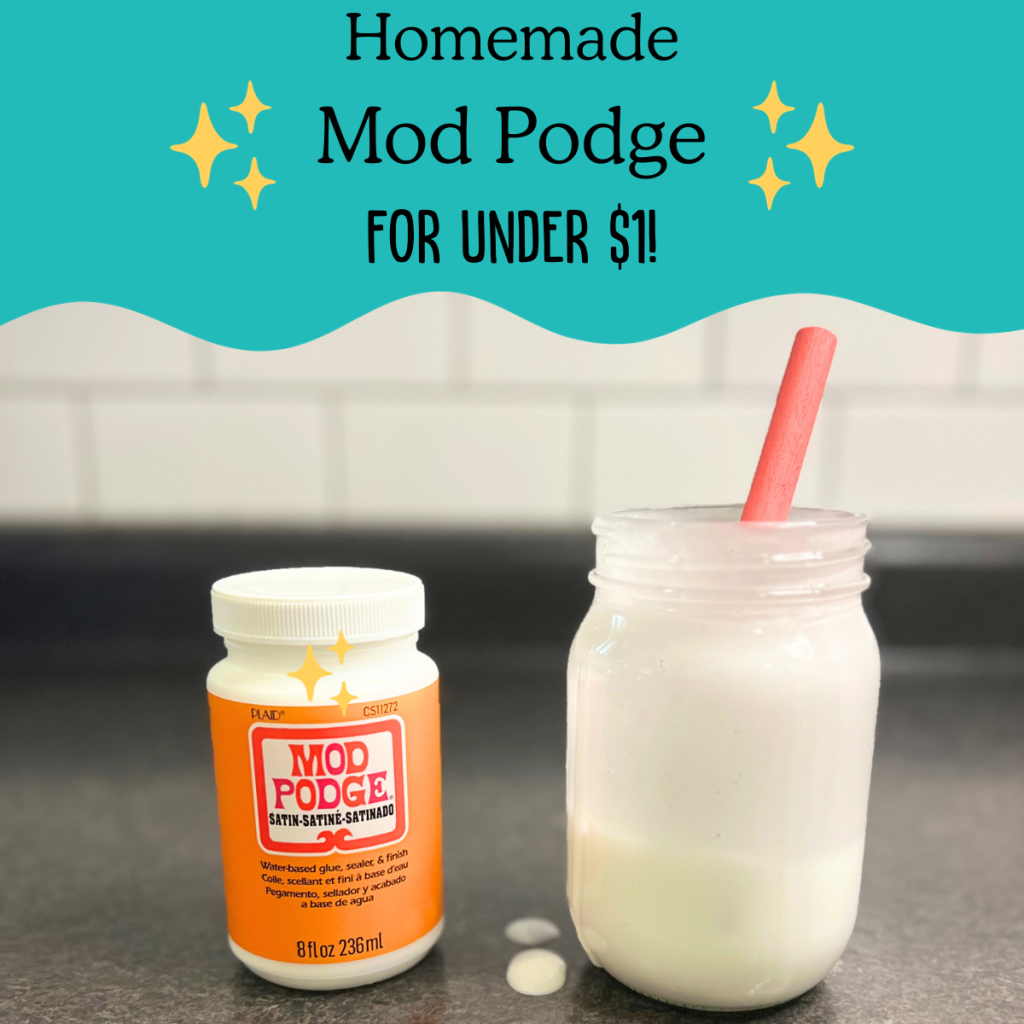
1. First we’ll make the black glue. Take your school glue and dump out maybe a 1/4 of the bottle. I poured the extra glue into another container to put back when mine starts getting low. Put a SMALL amount of black acrylic paint into the glue bottle and shake it up really well.


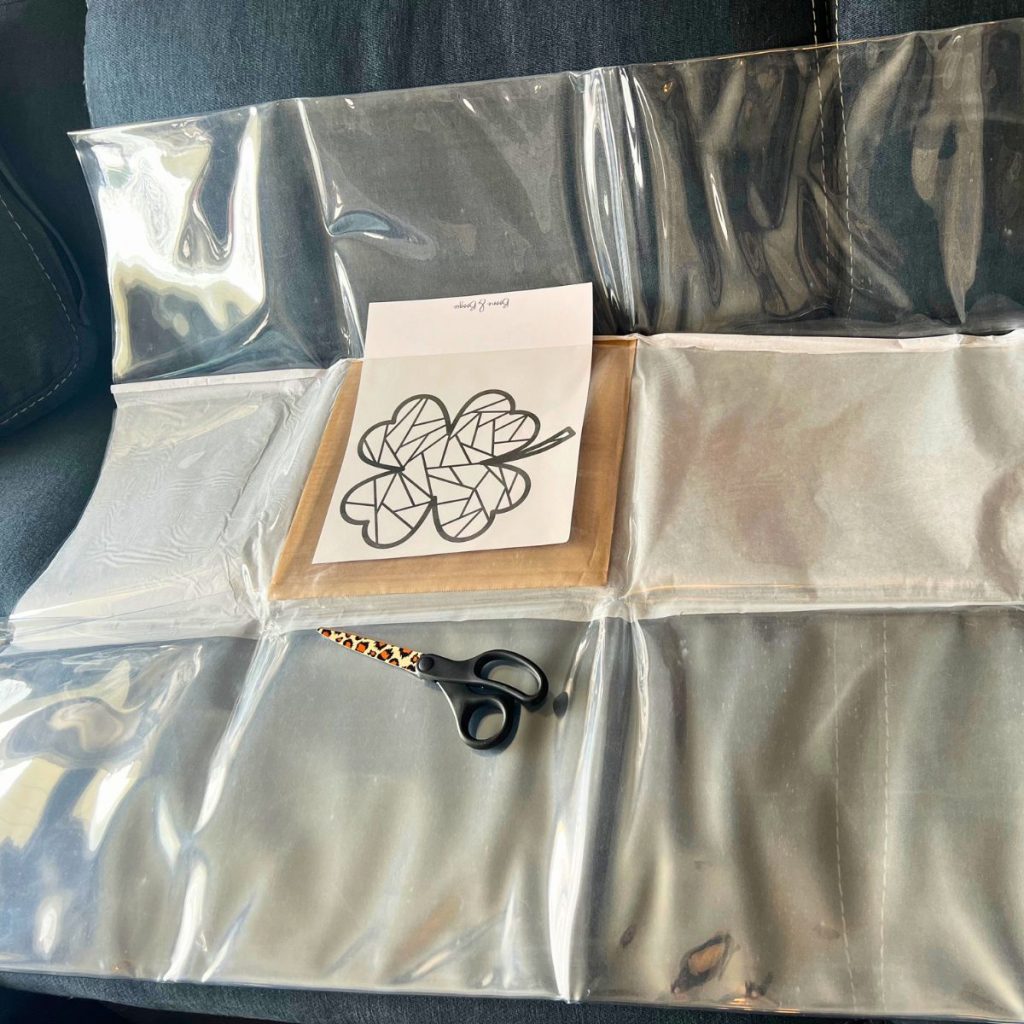
2. Print out the free printables and cut into 3 individual pictures. The clover has some extra space to test out your glue. The consistency has changed a bit, so try it out first!
3. Unfold the vinyl covering and cut to size for each picture. Take some tape and tape the picture to the clear vinyl.

4. The vinyl comes with a slight powder coating so that the vinyl doesn’t stick together. Flip over the vinyl so the paper is now on the backside and wipe down with glass cleaner.

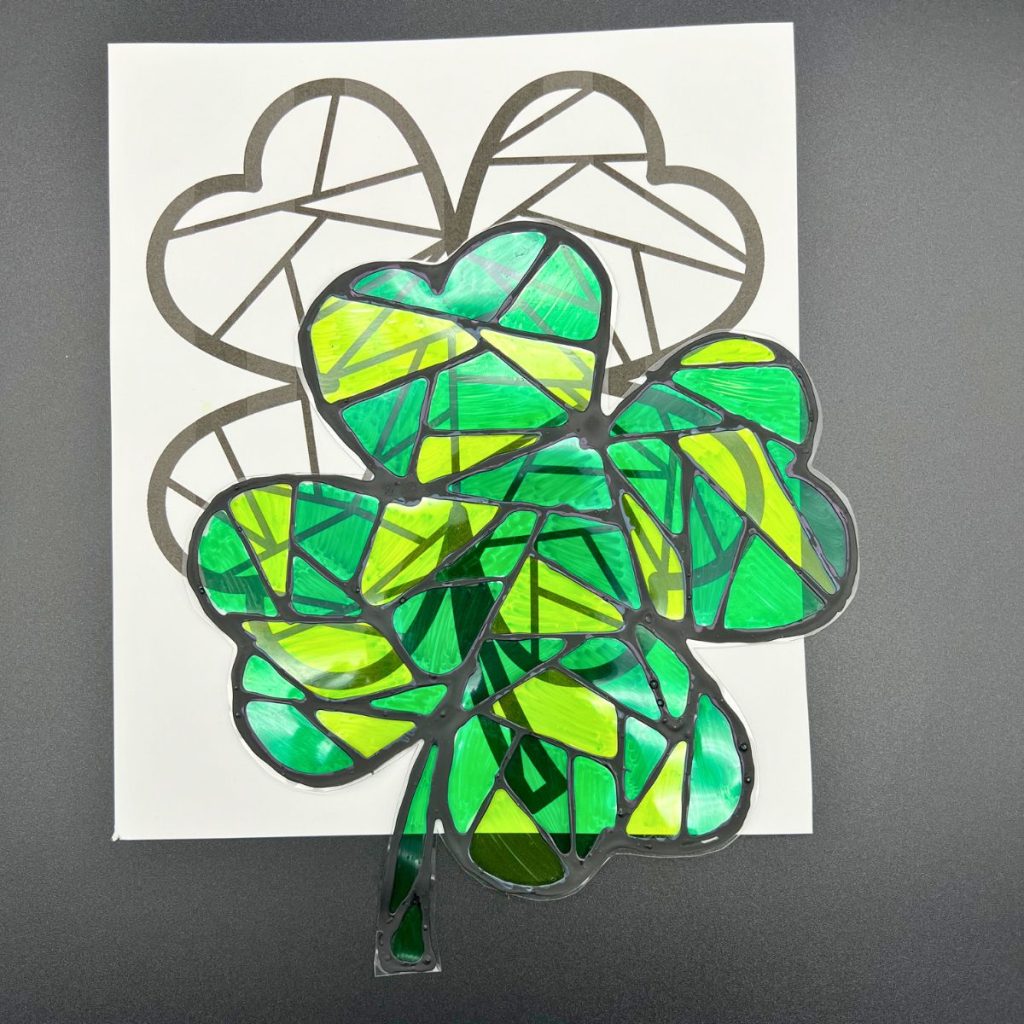
5. Now take your new black glue and trace out the lines on the print.
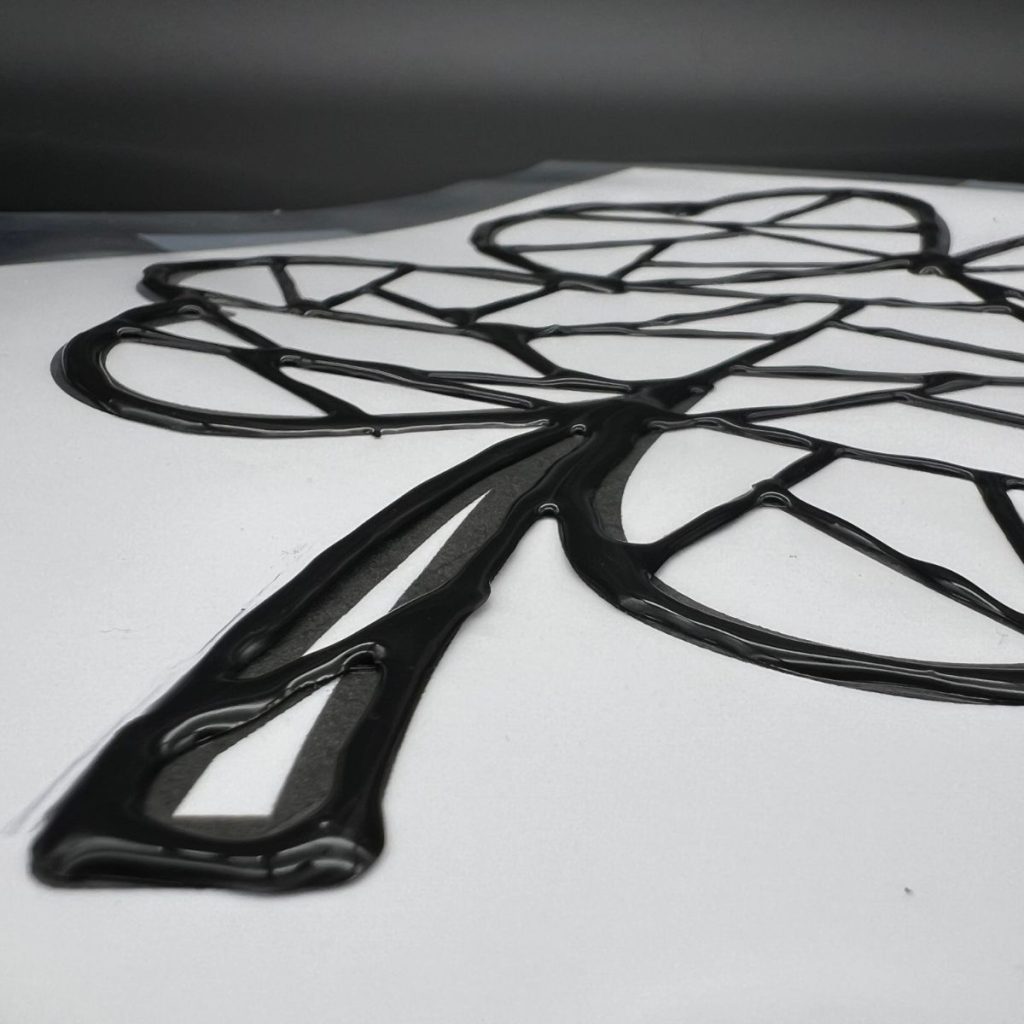
6. This is the hardest part… waiting! It does take some time to dry. I put mine outside for the air to help drying time. I have no idea if this actually helped or not, but I did it!
7. Once completely dry, it’s time to add color! Color in with permanent markers how your imagination sees fit!
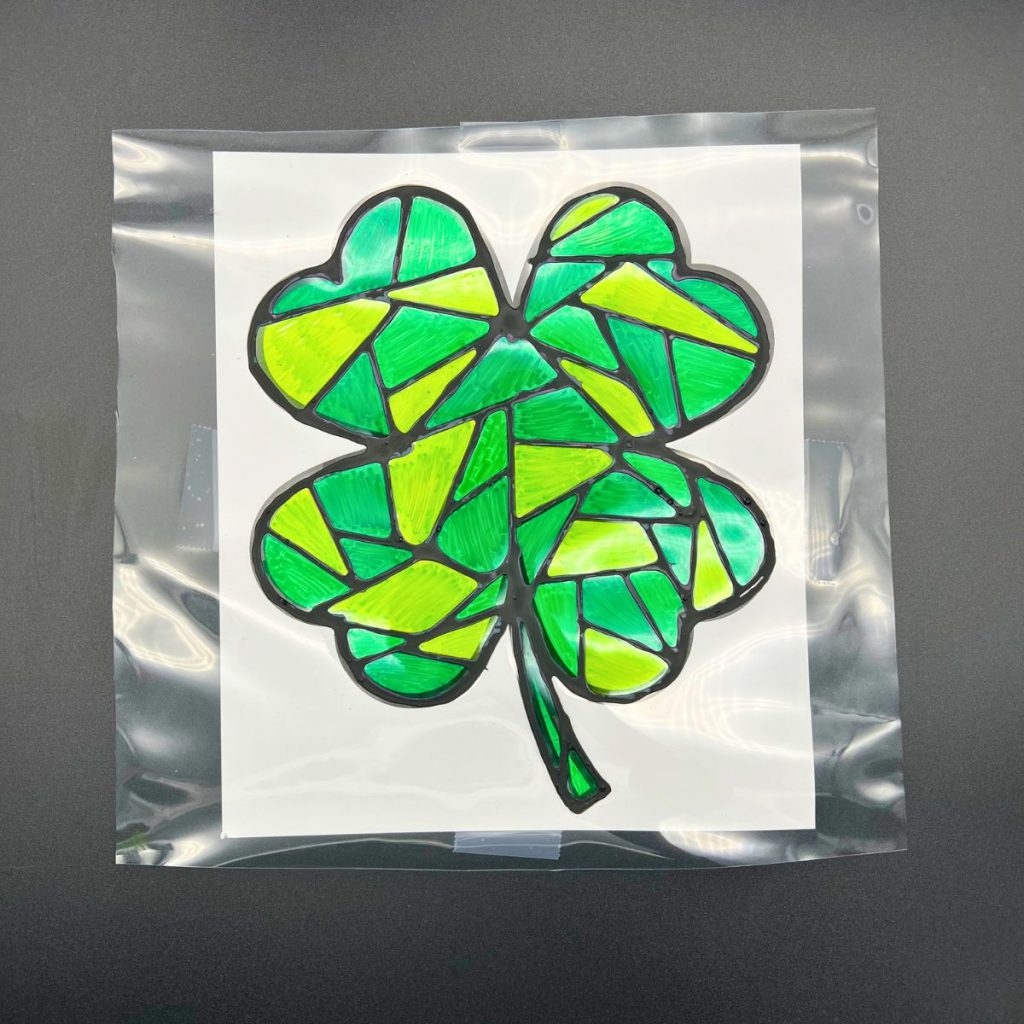
8. Now you can remove the printable and tape, and cut the vinyl around the design.
9. Hold your new stained glass art up to the sunlight and enjoy your beautiful artwork!
TIPS & TRICKS
Practice with the glue first. Write your name or draw some doodles. But practice first. When I traced my printable, I didn’t open the glue bottle all the way.
Grab a scrap paper and put some glue on it. When checking to see if your project is dry, check your sample instead of smudging up the pretty pieces.
This is made with the tried and true school glue that us weirdos put on our hands and peeled off like skin when dry. It will come off the vinyl if pulled off. When hanging in the window, tape on the back of the vinyl. This was learned the hard way haha!

Let me know if you make this St. Patrick’s Day Stained Glass Art and share a picture on Instagram or Facebook or leave a comment below! Enjoy and thank you for reading!
Check out another sun catcher craft here!


Leave a Reply
Your email address will not be published. Required fields are marked *